Hi everyone!
I'm here again with this week's Waste Paper Bin Challenge, a tutorial where I challenge you all to use your imagination to create something beautiful from waste.
This week I have put together a tutorial for you all to follow on how to make a customized bookmark. Let's get started.
Choose a cardboard base for your bookmark. I am using a clothing tag from a pair of jeans that Himself bought last weekend and I kept it (of course) cause I knew I would use it for something creative. It's the perfect size for my bookmark but if you don't have any tags or cardboard that is already the right size then you can cut one out from cardboard. You don't need to have fancy card, cardboard from old postage packaging or from a cereal box will work perfectly. This is why I suggest you think twice before throwing things away, you never know what you could make!
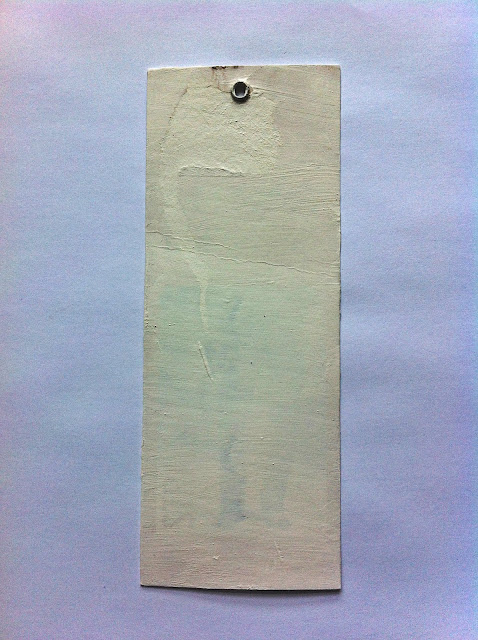
If you do use cardboard that has some designs or wording on it, like I have, then that is where the Gesso or the white acrylic paint will come in. I apply a generous coat of Gesso to both sides of my tag to cover up the colour and the words. If you are using white acrylic paint you might need to apply a few coats as acrylic paint isn't as thick as Gesso and doesn't give as much coverage. If you are using plain cardboard from your stash you don't have to do this step but I would recommend you do anyway as it creates a blank canvas to work on and also gives the acrylic paint and glue that we will be using something to grip on too.
As you can see, covering the tag in Gesso gives me a nice, clean surface to work on. If you look hard you can still see a little bit of the original design showing through, if I apply another coat of Gesso it would completely covered this up but it doesn't matter because I know when the bookmark is finished, this will not be noticeable at all, it will be completely covered.
Now the interesting part! Take your scraps and just start to glue them randomly to your bookmark. Glue them here and there, in whatever fashion you feel like. You could tear the paper like I do or you could cut the paper neatly with a scissors, you could glue it straight down or you could scrunch the paper into tiny paper balls. The possibilities, as always with art, are endless.
When you are happy with how it looks, either wait for it to dry or use your heat tool, and then flip it over and do the same on the other side.
As you can see from the left picture, I didn't just limit myself to paper. I found a piece of scrap plastic that was originally the backing of a sticker - that went on too. Why not, just throw it on and see what happens.
Now you can choose a colour(s) to add to your bookmark. I am using 'Pistachio Mint' by Americana and 'Wild Watermelon' by DecoArt.
I like to apply a little water to my paint when applying it so that it makes the paint translucent and shows off the patterned underneath. I don't apply the two colours randomly on to the bookmark, letting my creative self lead me, not thinking too much about it just enjoying the process.
So it looks pretty good so far. At this point the options are endless really. You can leave it just as it is not or you can root through your craft stash, art caddy or even just around the house and find interesting elements to your book mark.
I am treating my bookmark as I do one of my canvas' so I will add texture through the use of stamps, stencils and doodling.
Here is my finished bookmark. As you can see I added a lot of different elements to it, I added a quote, I added some modelling paste. I also added some strings of embroidery floss and wool through the hole of the tag, which you can do too by punching a hole at the top of the bookmark, and I added some beads and a charm to one of the strings.
I added some Glossy Accents to the quote so it really pops!
Finally, I added a little brad through the hole in the top to complete the look of the bookmark.
So, I hope you enjoyed this week's WBPC, check back next week for the next instalment
Please feel free to leave a comment and let me know if you give this one a try.
I hope you have a beautiful + creative day
Ciara
xoxo


No comments:
Post a Comment